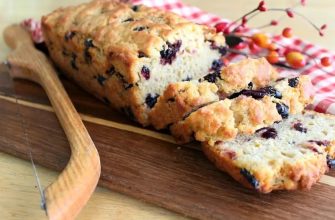
This Sourdough Starter is pretty darn easy to do and a great option for delicious homemade baked goods! A sourdough starter doesn’t have to be a chore, and the end result is worth the patience in the beginning. If you like homemade treats try my Sourdough Pretzels!

Sourdough Starter
I have to start out by saying that this is how *I* do a starter. I have watched every expert under the sun and read every book and let me tell you something… they are all different. So I have been testing and testing and retesting and using life experience to determine what works best for me. Well, I finally decided on what worked best for me, and it could not be easier and straight forward. The ingredients are simple: flour and water. And, with just two measurements to remember, the feeding is a piece of cake (or should I say bread?) as well!
Getting your Sourdough Starter Started
Now if you want to bring science into it, the type of flour and type of water you use are important. They can produce a better product. But I am here to tell you that you can absolutely use all-purpose bleached flour from Dollar General and it will still be ok. Make sure you have the following materials and ingredients on hand:
Jar & Lid – I prefer glass, you don’t want to use metal or plastic. If you don’t have a lid use a paper towel and rubber band.
Flour – I prefer organic unbleached all-purpose, but also love whole-wheat and bread flour. Or, give rye flour a try.
Water -Purified is best. Have chlorinated tap water (as most people do)? You can use bottled water or just set the water out uncovered for 24 hours before using it to feed your starter. This allows the chlorine to evaporate so it won’t kill the wild yeast.
That’s it for supplies! Now, let’s get to making the starter.
How to Make a Sourdough Starter
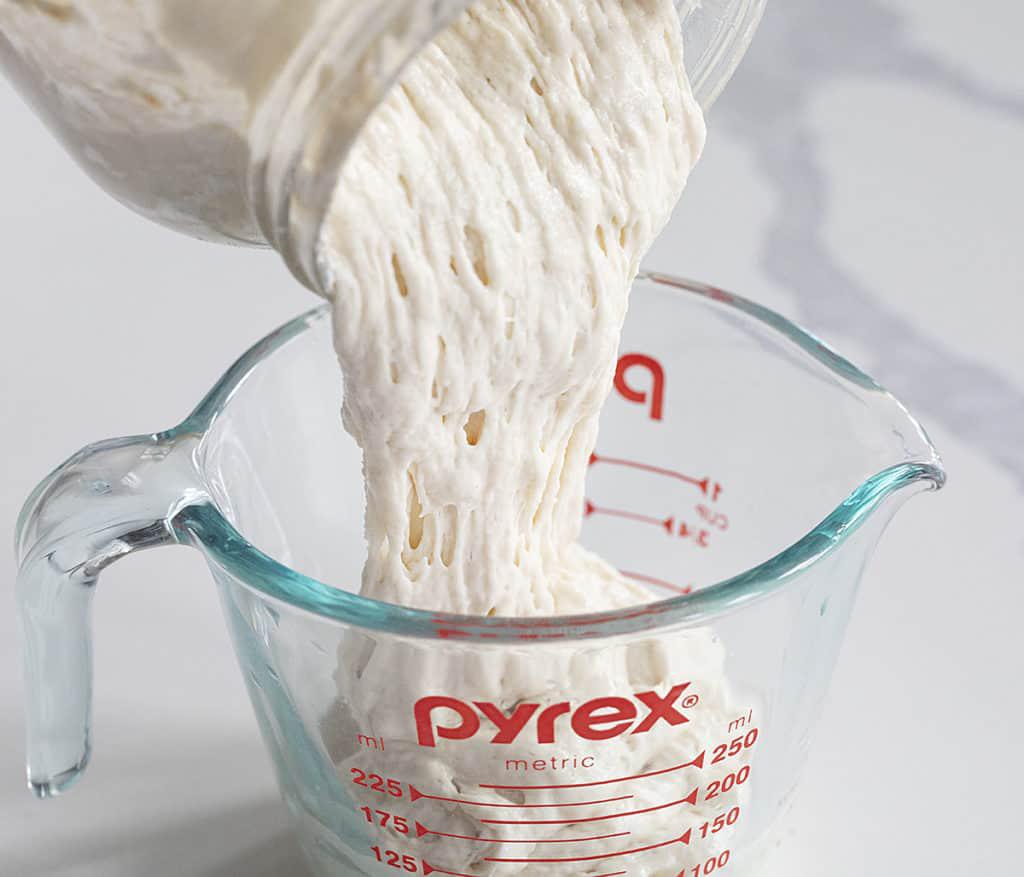
Remember these amounts: 1/2 cup flour and 1/4-1/3 cup water. These are the only measurements you will need to remember throughout this entire process of creating your sourdough starter. And trust me, you will use those measurements a lot with all the ‘feeding’, going on! After all, the goal is to get those microorganisms to work for that sour and fermented flavor that sourdough is known for.
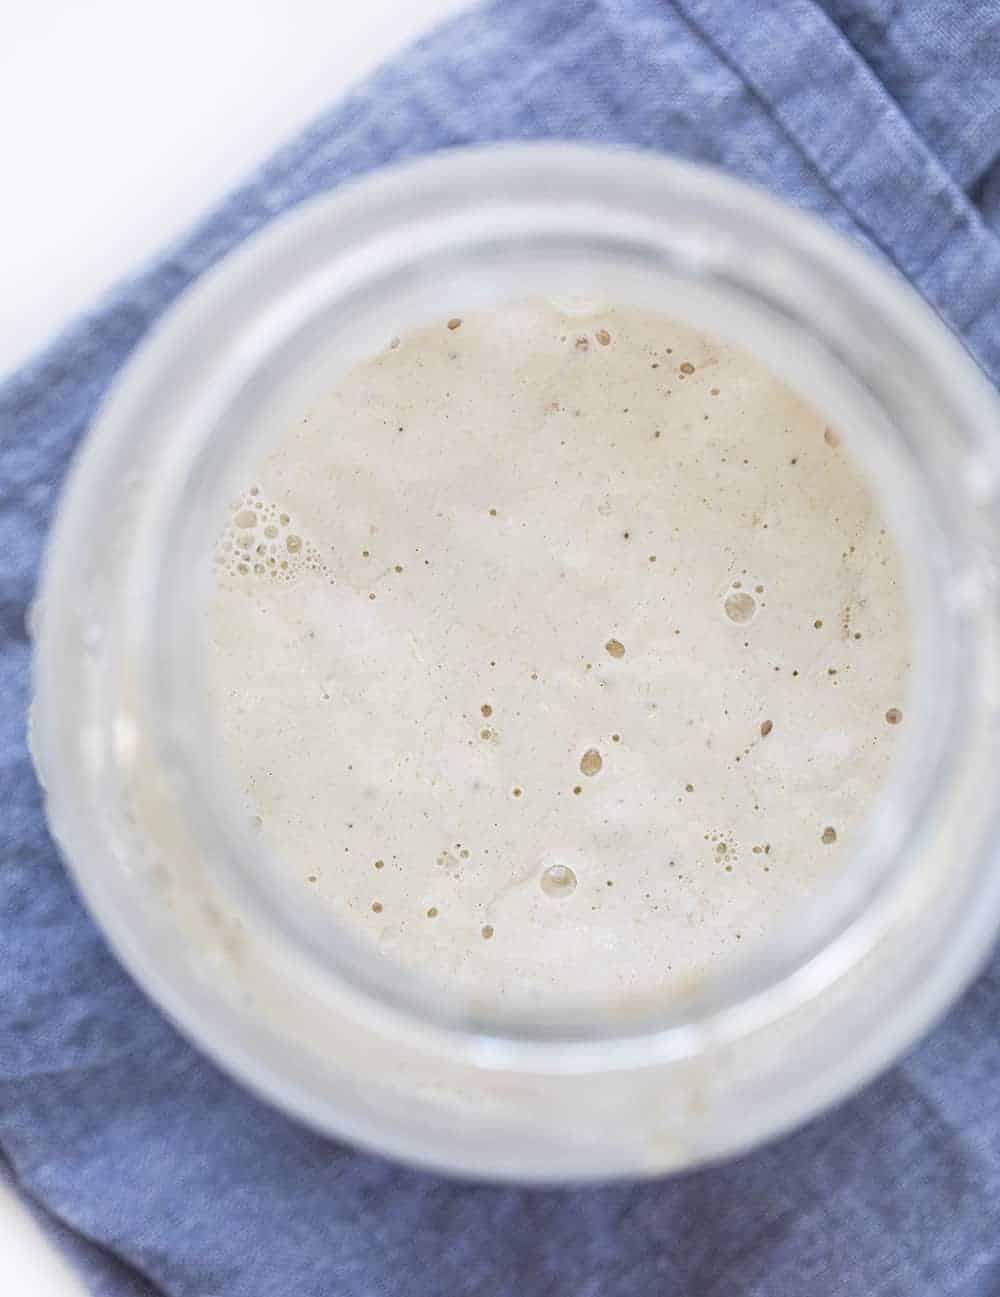
To begin, add the flour and water to a jar and stir well. Try not to use a metal spoon. After all, Grandma said she always uses the handle of her wooden spoon to stir. Now gently cover the jar (do not seal it closed) and let it sit in a warm place (70°F is best) for 24 hours. The best option for a cover is a paper towel and rubber band. Or, just remember to keep the jar lid loosely sealed. Try to keep it in an area of your house that is somewhat warm. Very cool rooms tend to slow the action of a starter. Wait 24 hours before checking the mixture.
‘Feeding’ the Sourdough Starter
With sourdough starters, you will hear the term ‘feeding’. This is simply adding the flour and water to the mixture to keep the microorganisms working. Remember the measurements I told you to get ingrained in your brain? The 1/2 cup flour and 1/4-1/3 cup water is all you will need throughout the ‘feeding’ process.
Day 2: After 24 hours, check the mixture for bubbles. If you see bubbles, add the flour and the water, mixing it well, and let it sit for the next 24 hours. If you don’t see bubbles, do not get discouraged! It sometimes takes a couple of days for the science of it all to work. Just wait another day (or even two) until the first feeding.
Day 3: After another 24 hours, check for bubbles. If you do see bubbles, remove half of the starter, add the 1⁄2 cup flour and 1⁄4-1/3 cup water and stir thoroughly. Let sit 24 hours. Oh, and don’t get rid of the starter you removed! I will give you some ideas on how to use this in the end.
For the third feeding, remove half of the starter (but don’t throw it out!), and feed with 1⁄2 cup and 1⁄4 cup water, stirring thoroughly. Let sit 24 hours. (And yes, you can begin a new starter with the discard! Try adding a new kind of four! Or simply use to make crackers or pancakes.)
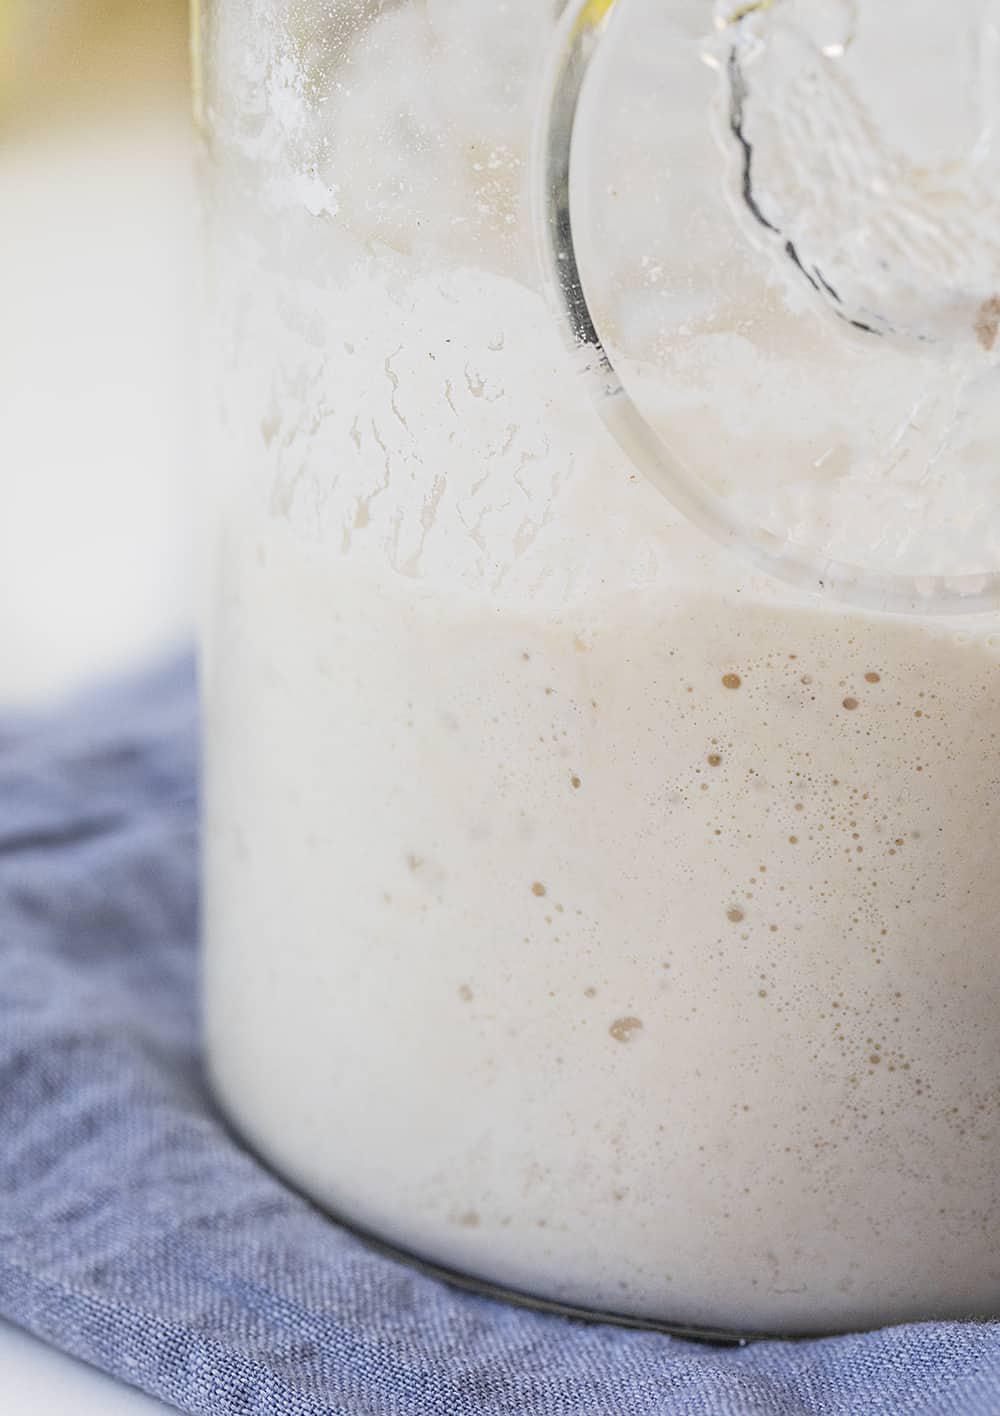
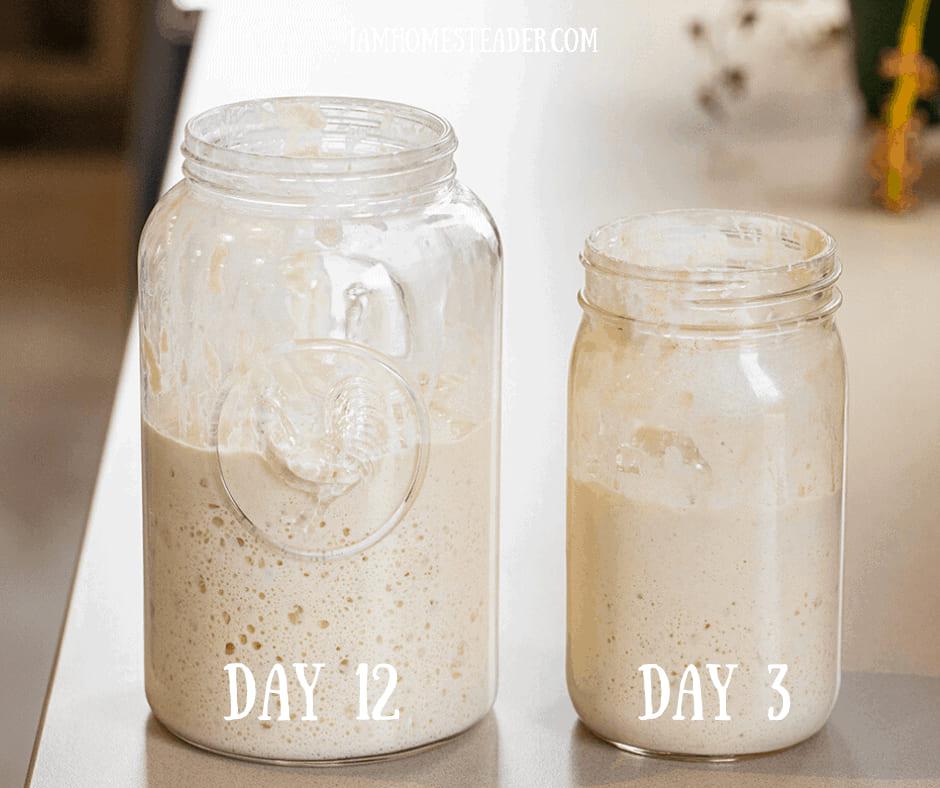
On days 4, 5, 6 you can feed it 2 times a day with those measurements that are sure to be memorized at this point?. Continue this routine (discarding before feeding) until the starter is consistently bubbling and doubling in size within 8 hours of each feeding.
It is now ready to use for a perfect Sourdough Bread!
How to Store a Sourdough Starter
After all the feeding and you know you have a strong, active starter, you can store the starter in the refrigerator and feed it about once per week. When you plan to use the starter, pull it out of the refrigerator 24 hours in advance to feed it and allow it to warm up and grow.
These starters get better with age, so don’t think you have to use it right away! Sourdough starters are hearty, so they last quite a while. But, like all living things, it can get ‘sick’ or go bad. If it turns pink, red, moldy, or gets a really putrid smell, throw it out. After all, you now know how to start again!
What Flours Can You Use in a Sourdough Starter?
All grain-based flours will work beautifully in a starter. A few examples are:
- Rye
- Bread Flour
- Rice
- Whole Wheat
- Einkorn
Ingredients
- ½ cup flour, whole wheat or unbleached all-purpose
- ¼-⅓ cup water
- 1 glass jar, or bowl
- 1 paper towel
- 1 rubber band
Instructions
TO BEGIN
- Start the process by adding ½ cup whole wheat flour and ¼ cup water to the jar. (If you need more flour to reach a pancake batter consistency, you can add up to ¼ cup more.)
THE FIRST FEEDING
- Stir thoroughly and cover with a towel and rubber band. Let sit for 24 hours at room temperature. (Try to keep it in an area of your house that is somewhat warm. Very cool rooms tend to slow the action of a starter.)
- After 24 hours, check the mixture for bubbles. If you see some, add ½ cup all-purpose flour and ¼-⅓cup water. If you don’t see bubbles, give it a stir and let sit 24 more hours.
THE SECOND FEEDING
- Check for bubbles again. If you do see bubbles, remove half of the starter, add ½ cup all-purpose flour and ¼-⅓ cup water and stir thoroughly. Let sit 24 hours.
THE THIRD FEEDING
- Remove half of the starter, and feed with ½ cup all-purpose flour and ¼ cup water, stirring thoroughly. Let sit 24 hours.
ADDITIONAL FEEDINGS
- On days 4, 5, 6 you can feed it 2 times a day.
- Continue this routine until the starter is consistently bubbling and doubling in size within 8 hours of each feeding.
- From this point, you can store the starter in the refrigerator and feed it about once per week. When you plan to use the starter, pull it out of the refrigerator 24 hours in advance to feed it and allow it to warm up and grow.