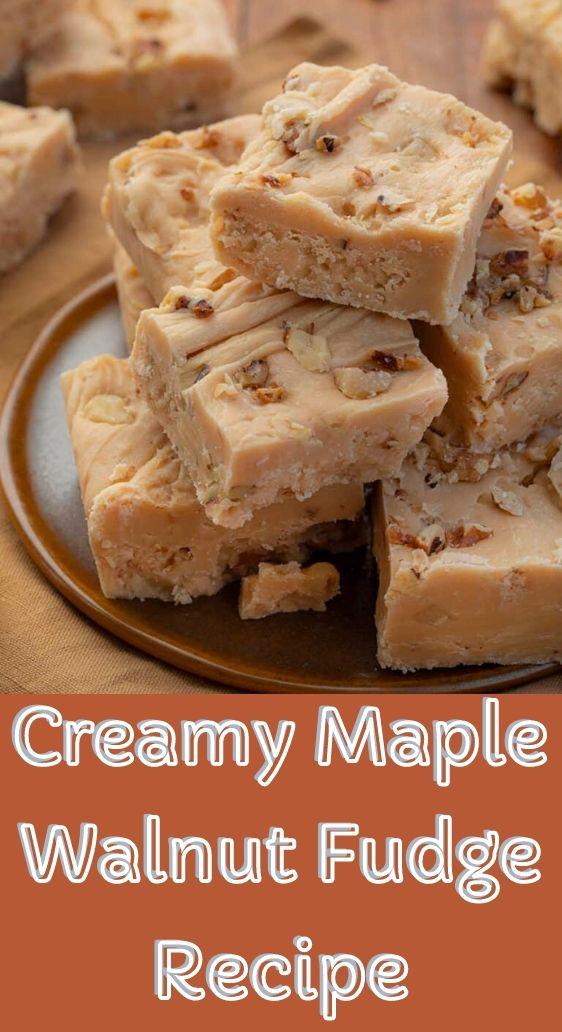
Maple Walnut Fudge is a creamy fudge with just the right amount of maple flavor and nutty crunch from toasted walnuts. Try my Original Fantasy Fudge for another nutty fudge recipe.
Maple Walnut Fudge
With the holidays upon us, it’s that time of year to make as many sweets as possible to share! Fudge seems to be a hit at most holiday gatherings or potlucks. I am surprised that National Fudge Day is in June, but I will indulge in it year-round if I must.
Maple Walnut Fudge Ingredients
Toasted Walnuts: You do not have to toast the walnuts to make this fudge, but I encourage you to take a few minutes to do it. Toasting nuts brings out the flavor of the walnuts, as well as that crunch. (If you don’t toast the walnuts, be sure to warm them up before adding them to the fudge mixture.)
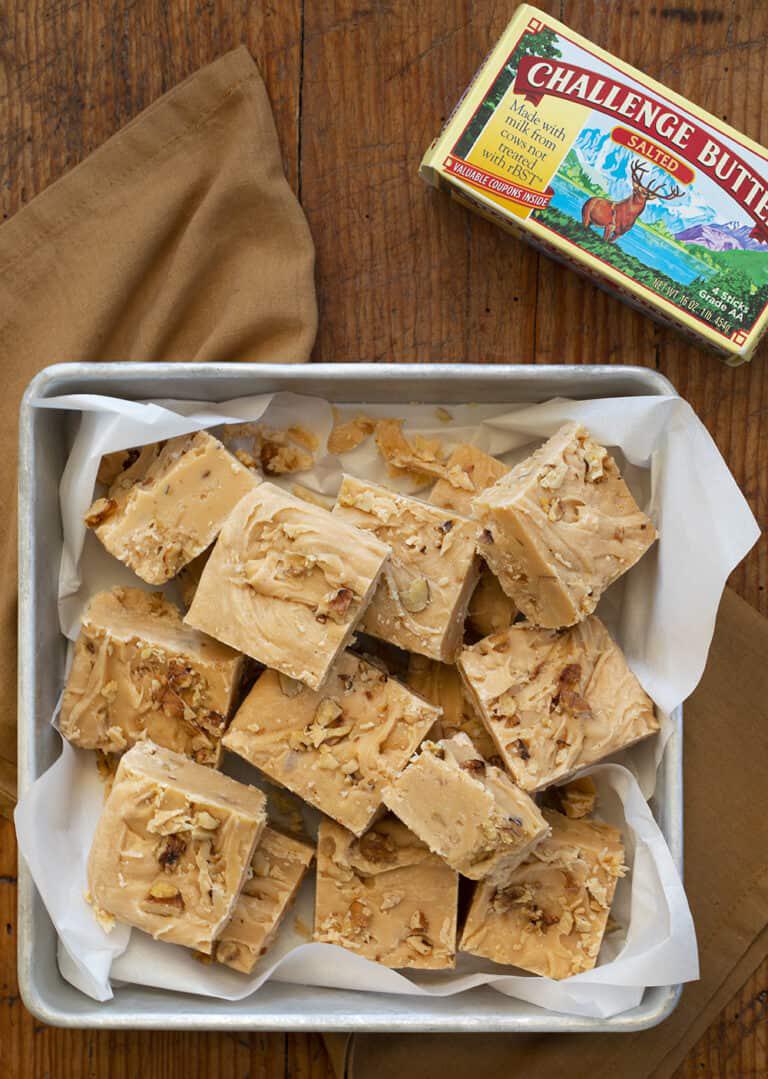
Challenge Butter: Challenge Butter is made the old-fashioned way, churned fresh daily from the freshest milk and cream from happy cows at family-owned dairies since 1911.
White Chocolate Chunks: Go for a high-quality white chocolate bar. Look for a cocoa percentage of 33% or more to get the creamiest result when melted. White baking chips or white morsels don’t melt as well.
How to Make Maple Walnut Fudge
Fudge is always nice to have around for a treat to satisfy your sweet tooth. Plus, it’s a great holiday gift to share! One thing that is important is a candy thermometer. I will talk more about that later. Let’s get to making this fudge!
- Line an 8×8-inch baking dish with parchment paper. If you don’t have parchment paper, aluminum foil will also work. This will make it a whole lot easier to remove your fudge from the pan when it’s ready to be cut.
- In a large saucepan, melt the Challenge Butter over low heat. Add evaporated milk, both sugars, and 1 teaspoon of salt. Stir to combine.
- Bring the mixture to a rolling boil. Do not stir the mixture as it is cooking. This is where a candy thermometer comes in handy. If you have one, the temperature should read 234°F-237°F when ready. I will let you know how to make the fudge without a candy thermometer as well (although that is not as full-proof).
- After the mixture has reached 234°F, remove it from the heat and let it cool to 110°F. Again, do not stir it!
- When the temperature is close to 110°F, toast the walnuts and melt the white chocolate.
- Once the temperature reads 110°F, stir in the melted chocolate, marshmallow fluff, maple extract, and 1/2 cup of the toasted walnuts. Now is the time you can really mix it all together.
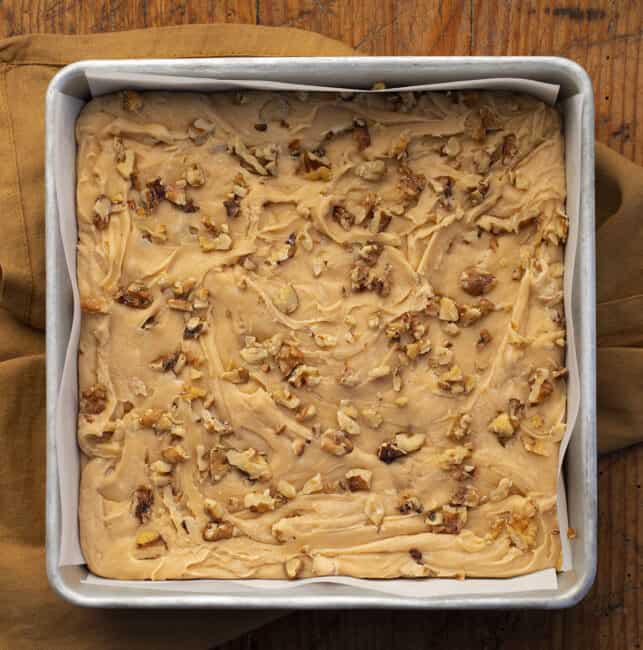
- Spread out the fudge onto your lined sheet pan, top with remaining walnuts, and let it cool at room temperature for at least 2 hours before cutting. (If you are using cookie cutter shapes, wait for the fudge to cool a bit before cutting them. Or, you could pour the soft mixture into the shapes before you cool the fudge.)
Toasting Walnuts
Again, it is worth toasting walnuts for this recipe. There are a couple of ways to toast nuts. I heated up some oil in a skillet to toast them on the stovetop. You could also toast them in the oven. To toast nuts in the oven, place the walnuts in a single layer on a baking sheet (lined or unlined). Bake at 350°F for 8-10 minutes, keeping an eye on them so they don’t burn.
What is a Candy Thermometer?
A candy thermometer, also known as a deep-fry thermometer or sugar thermometer, is used to measure the temperature of a sugar solution. It is definitely an important tool to have when making candy. Just like using a meat thermometer is important for perfectly cooked meat and measuring cups and spoons are important for measuring ingredients, a candy thermometer has its place in the baking world, for sure!
You can find them in most grocery stores and houseware stores. When you use it, just make sure you don’t immerse the thermometer directly into boiling water or let the bulb hit the bottom of the pan. It really is a game-changer, or should I say candy-changer, for your future sugary recipes.
Can I Make Fudge without a Candy Thermometer?
Don’t let not have a candy thermometer deter you from making fudge. However, without a thermometer, it can be frustrating making fudge. But, here are a few tips that will help if you want to give it a try:
- Heat the mixture as directed. While it’s coming to a boil, set a medium-sized bowl of ice water and a small metal spoon (your everyday silverware spoon) next to the stove. When the mixture has been bubbling for a few minutes, do your first test.
- Dip the spoon into the mixture and coat the tip. With one hand, dip the coated spoon immediately into the ice water and then grab the cooling sugar mixture with your other hand. Remove from the water and roll it around between your fingers and thumb and see what it feels like. If you’re looking for the “soft-ball” stage, it should form a ball that holds together but still feels a little squishy and can be flattened when you press on it (like a gooey caramel).
- This process will take a few tries at least, but you can see (and feel!) it moving through the stages to give you an indicator of how close you are. This is just a really fun science experiment in your kitchen!
How to Harden Fudge
Allowing fudge to come to room temperature will solidify it and make it easy to handle. I recommend letting it harden without putting it into the refrigerator or freezer. Fudge is best consumed at room temperature. You can always score it a little bit before it hardens to make it easier to cut when ready.
How to Store Fudge
If you are planning on eating it within 2 weeks, you can store the fudge in an airtight container. I like to separate the layers with parchment or wax paper. You can also store fudge in the refrigerator for a few weeks. Again, an airtight container with separated layers is best.
If you need longer storage, like months, the freezer is the best option. I like to tightly wrap the fudge with plastic wrap and then place it in an airtight container or freezer-safe plastic bag. Be sure to write the date on it!
Tips for the Perfect Fudge
Fudge is not the easiest thing to make, and everyone is a critic when it comes to fudge being too grainy, too hard, or too soft. If you are not happy with how your fudge recipe turned out, here are a few things to keep in mind:
Candy Thermometer: Yes, I did give you a way to make fudge without a candy thermometer, but that is more of a hit and miss method. If you are going to be making fudge, I highly recommend a candy thermometer, and a decent one. It’s all about temperature when making fudge, so a candy thermometer that is ‘off’ by even a couple of degrees could cause the fudge to not turn out.
Cooking: It’s all about cooking to get the creamy consistency of fudge. If the cooking time is too long, too much water will evaporate and the fudge will be too hard. On the other hand, if the cooking time is too short, too much water will remain and the fudge will be too soft.
Once the mixture has reached a boil, let it cook until it reaches the ‘perfect’ temperature. That is where the 234°F-237°F temperature range comes in. This is why a candy thermometer is so important.
Over Stirring: Well, of course, you have to stir to mix the ingredients, but it’s important to know when to leave the mixture alone. Once the milk and sugars are combined, bring it to a boil. Then, do not stir again throughout the entire cooking process.
Fudge is too Grainy: Refrain from scraping the sides of the pan during the cooking process. You can use a brush dipped in water to get the sugar crystals mixed in, but only at the beginning of the cooking process. Adding crystals later may cause other sugar molecules to attach to them, which can cause seizing and graininess.
Cooling Time: Let the fudge cool before beating it; this will allow the sugar to crystallize again, which forms the fudge. The candy thermometer should read between 110°F-113°F before you mix in the final ingredients. Use a wooden spoon to stir constantly until the mixture starts to thicken and dull in appearance. Then, it’s ready to pour into the lined pan.
Weather: As if perfecting fudge wasn’t hard enough, weather can make a difference if fudge turns out or not. Low humidity or colder weather makes the fudge less moist; high humidity can make fudge less set and runnier.
INGREDIENTS
- ¼ cup (1/2 stick or 57g) Challenge butter
- ⅔ cup (168g) evaporated milk
- 1 ½ cups (300g) granulated sugar
- 1 cup (200g) brown sugar
- 2 teaspoons salt, divided
- 1 teaspoon vegetable or canola oil
- ¾ cup chopped walnuts
- 12 ounces white chocolate chunks, roughly chopped (about 2 cups)
- 7 ounces (1 jar) marshmallow fluff
- 2 tablespoons maple extract
INSTRUCTIONS
Line an 8×8-inch baking dish with parchment paper. Set aside.
In a large saucepan, over low heat, melt the butter. Add both evaporated milk, both sugars, and 1 teaspoon salt. Stir until combined.
Increase heat to medium and bring mixture to a rolling boil. Do not stir once it has reached a boil. Leave on heat until the mixture registers 234°F-237°F on a candy thermometer.
Remove from heat and let cool until the candy thermometer reads 110°F. Again, do not stir.
When the mixture is close to 110°F, toast the walnuts and soften the white chocolate. Set aside.
In a small skillet over medium heat, add the oil, chopped walnuts, and 1 teaspoon of salt. Cook for 3-5 minutes, stirring frequently, until fragrant. Remove from heat.
In a microwave-safe bowl, heat the chocolate in 15-second intervals until smooth and creamy.
Once the mixture reaches 110°F, add the melted white chocolate, marshmallow fluff, maple extract, and 1/2 cup of the toasted walnuts.
Pour into the lined pan and top with the remaining toasted walnuts.
Let fudge cool in the pan a minimum of 2-3 hours at room temperature, or until firm. Lift out of the pan with parchment paper. Cut and serve.


