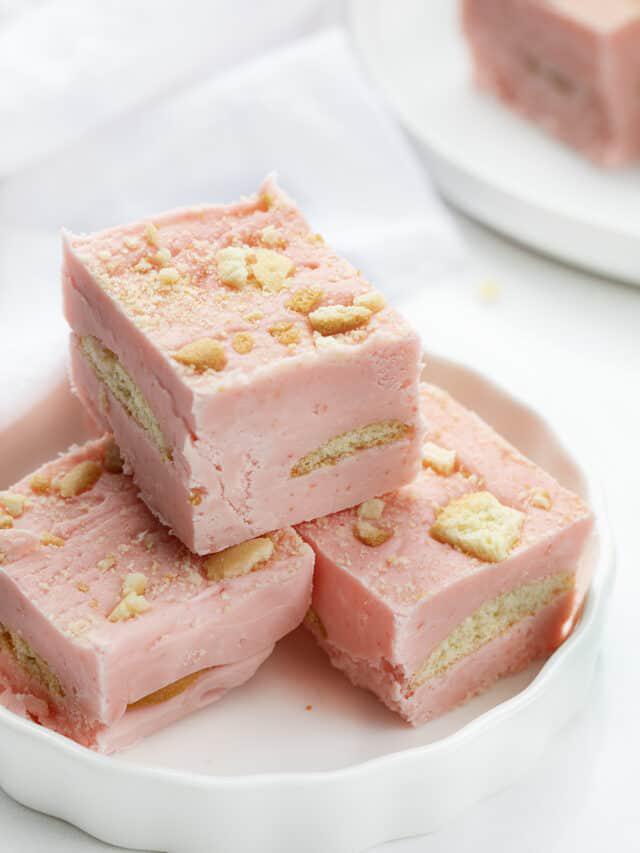
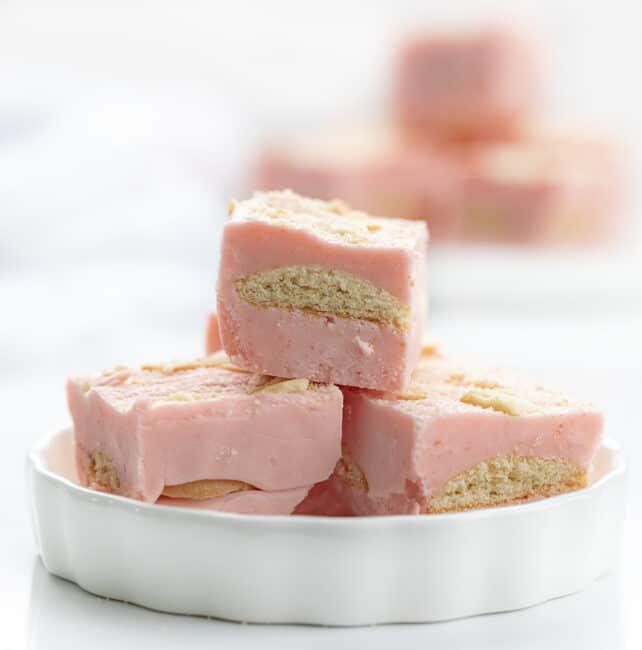
Strawberry Shortcake Fudge is two layers of strawberry fudge with vanilla wafers nestled between the layers and topped with crushed wafers. If you have ever had strawberry milk, this is exactly what it tastes like!
Strawberry Shortcake Fudge
Although there is no actual shortcake in this recipe, it follows the same layering concept of the classic dessert. The vanilla wafers act as the shortcake in the recipe. The strawberry pudding mix gives it the pink coloring and strawberry flavor.
Strawberry Shortcake Fudge Ingredients
Strawberry Jello Powder: Because of the jello powder, there is no need to add any food coloring. The powder is already pink to give the fudge its lovely color. You will only use a couple of tablespoons of the powder, so be aware that you will have some leftover.
Evaporated Milk: This is sometimes referred to as ‘unsweetened condensed milk’. It is different than sweetened condensed milk, which contains added sugar.
White Chocolate Chips: Look for white chocolate baking chips.
Vanilla Wafers: Whole wafers will be the middle layer of strawberry shortcake fudge. You will also add some crushed wafers on top.
How to Make Strawberry Shortcake Fudge
Fudge is always nice to have around for a treat to satisfy your sweet tooth. Plus, it’s a great holiday gift to share. With the lovely pink color, think Valentine’s Day! One thing that is important is a candy thermometer. I will talk more about that later. Let’s get to making this fudge!
- Line an 11×7-inch baking dish with parchment paper. If you don’t have parchment paper, aluminum foil will also work. This will make it a whole lot easier to remove your fudge from the pan when it’s ready to be cut.
- In a large saucepan, mix together the sugar, butter, jello powder, and evaporated milk over medium heat.
- Bring the mixture to a full boil for 5 minutes. This is where a candy thermometer comes in handy. If you have one, the temperature should read 234°F.
- Remove from heat and stir in the white chocolate chips until they have melted. Then, beat in the marshmallow fluff, vanilla extract, and salt.
- Transfer half the fudge to the lined baking dish. Top with a layer of vanilla wafers.
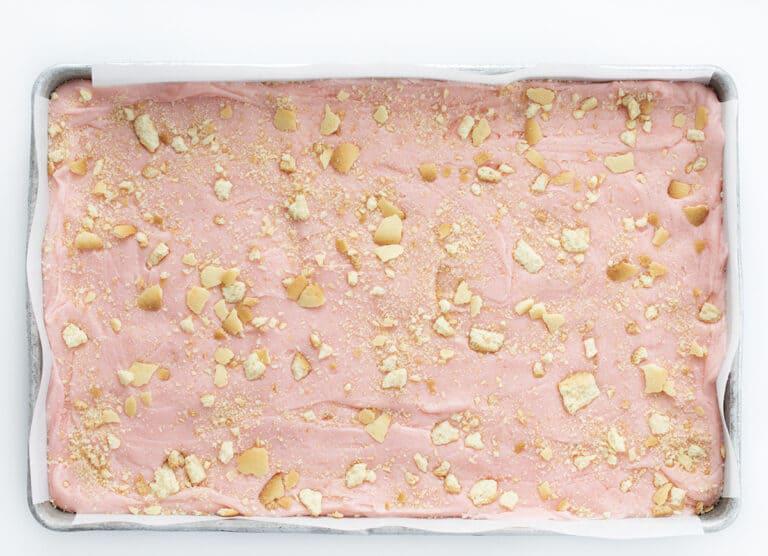
- Add the remaining fudge on top of the wafers and sprinkle with the crushed wafers.
- Let the fudge sit out at room temperature for at least 2 hours to harden.
What is a Candy Thermometer?
A candy thermometer, also known as a deep-fry thermometer or sugar thermometer, is used to measure the temperature of a sugar solution. It is definitely an important tool to have when making candy like this strawberry shortcake fudge. Just like using a meat thermometer is important for perfectly cooked meat and measuring cups and spoons are important for measuring ingredients, a candy thermometer has its place in the baking world, for sure!
You can find them in most grocery stores and houseware stores. When you use it, just make sure you don’t let the bulb hit the bottom of the pan. It really is a game-changer, or should I say candy-changer, for your future sugary recipes.
Can I Make Fudge without a Candy Thermometer?
Don’t let not have a candy thermometer deter you from making fudge. However, without a thermometer, it can be frustrating making fudge. But, here are a few tips that will help if you want to give it a try:
- Heat the mixture as directed. While it’s coming to a boil, set a medium-sized bowl of ice water and a small metal spoon (your everyday silverware spoon) next to the stove. When the mixture has been bubbling for a few minutes, do your first test.
- Dip the spoon into the mixture and coat the tip. With one hand, dip the coated spoon immediately into the ice water and then grab the cooling sugar mixture with your other hand. Remove from the water and roll it around between your fingers and thumb and see what it feels like. If you’re looking for the “soft-ball” stage, it should form a ball that holds together but still feels a little squishy and can be flattened when you press on it (like a gooey caramel).
- This process will take a few tries at least, but you can see (and feel!) it moving through the stages to give you an indicator of how close you are. This is just a really fun science experiment in your kitchen!
How do you harden Fudge?
Allowing fudge to come to room temperature will solidify it and make it easy to handle. You can also pop it into the refrigerator for a couple of hours or even the freezer for about 30 minutes. Fudge is best consumed at room temperature though, so be sure to take it out a few minutes before you want to eat it.
How do you store Fudge?
If you are planning on eating it within 2 weeks, you can store the fudge in an airtight container. I like to separate the layers with parchment or wax paper. You can also store fudge in the refrigerator for a few weeks. Again, an airtight container with separated layers is best. If you need longer storage, like months, the freezer is the best option. I like to tightly wrap the fudge with plastic wrap and then place it in an airtight container or freezer-safe plastic bag. Be sure to write the date on it!
INGREDIENTS
- 3 cups (600g) granulated sugar
- ¾ cup (1½ sticks or 170g) butter
- 2 tablespoons strawberry jello powder
- ⅔ cup (168g) evaporated milk
- 2 cups white chocolate chips
- 1 jar (7 ounces) marshmallow fluff
- 1 teaspoon vanilla extract
- 1 pinch kosher salt
- 2 cups vanilla wafers
- ¾ cup crushed vanilla wafers, for topping
INSTRUCTIONS
Line an 11×7-inch pan with parchment paper. Set aside.
In a large saucepan, over medium heat, mix together sugar, butter, jello powder, and evaporated milk.
Bring the mixture to a boil, leaving on the heat until the mixture registers 234°F on a candy thermometer (about 5 minutes).
Remove from heat and stir in white chocolate chips until melted and thoroughly combined.
Add in marshmallow fluff, vanilla extract, and salt, stirring until combined.
Transfer half of the fudge to the prepared pan, top with the vanilla wafers, and then the remaining fudge mixture.
Sprinkle with crushed vanilla wafers.
Let the fudge cool at room temperature for about 2 hours (or until set) before cutting.


