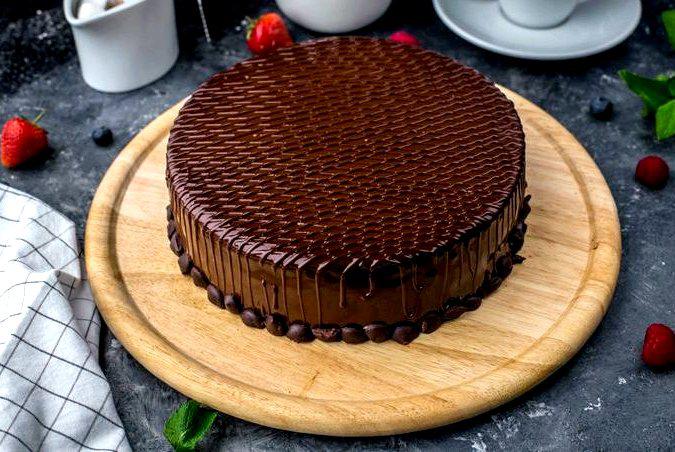
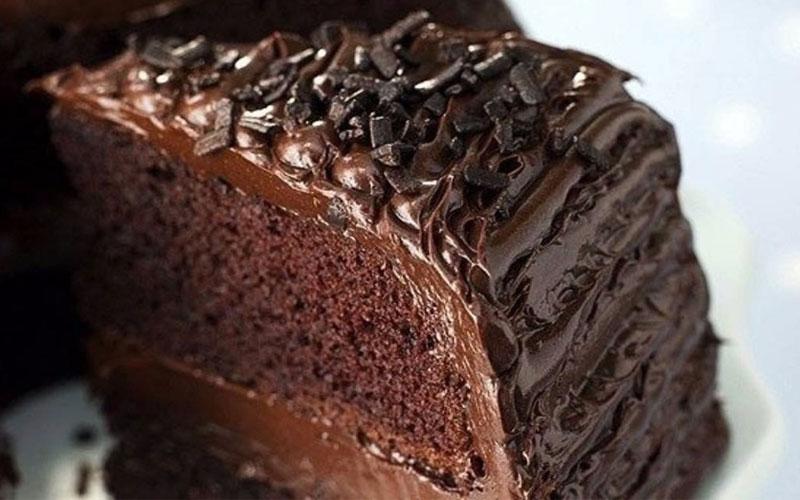
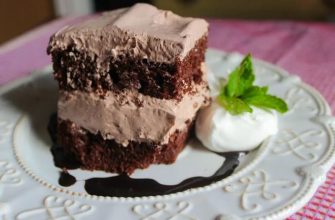
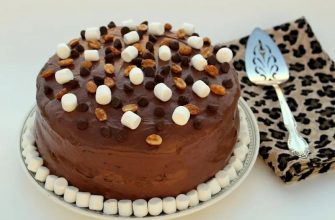
This Chiffon Prague Cake is a chocolate lover’s dream come true! With a soft, moist chocolate chiffon base, rich custard cream, and a decadent cocoa glaze, this dessert is perfect for any celebration. Whether you’re a seasoned baker or just starting out, this cake is sure to impress!
Ingredients:
For the Chocolate Chiffon Cake:
- Flour: 1 1/2 cups (200 g)
- Cocoa powder: 1/2 cup (60 g)
- Instant coffee: 1 1/3 tablespoons
- Egg whites: 8 large eggs
- Egg yolks: 5 large eggs
- Baking powder: 2 teaspoons
- Baking soda: 1/4 teaspoon
- Salt: 1/4 teaspoon
- Sugar: 3/4 cup + 3 tablespoons (180 g + 45 g)
- Water: 3/4 cup (175 ml)
- Vegetable oil: 1/2 cup (125 ml)
For the Cream:
- Butter: 1–1 1/4 cups (200–250 g)
- Sweetened condensed milk: 5 tablespoons
- Egg yolks: 3 large eggs
- Water: 1/4 cup (60 ml)
- Chocolate: 1.75 oz (50 g)
- Cognac (optional): 1 tablespoon
For the Glaze:
- Cocoa powder: 2 tablespoons
- Sugar: 4 tablespoons
- Water: 6 tablespoons
- Butter: about 2 teaspoons
Instructions:
Chocolate Chiffon Cake:
Prepare the Batter:
Mix cocoa and instant coffee, then add the warm water from the recipe and stir until smooth. Set aside. Separate the eggs into whites and yolks, ensuring no yolk gets into the whites to avoid difficulty in whipping. Beat the yolks with 3/4 cup (180 g) of sugar until light and fluffy. Gradually add vegetable oil, mixing well after each addition. Slowly incorporate the cocoa-coffee mixture. Sift together the flour, baking powder, and soda, then fold it into the batter.
Whip the Egg Whites:
Add salt to the egg whites and begin whipping on low speed, gradually increasing the speed as the volume builds. Once foamy, add 3 tablespoons (45 g) of sugar and beat until stiff peaks form. Carefully fold the egg whites into the batter in batches, using gentle folding motions.
Bake:
Preheat your oven to 325°F (160°C). Pour the batter into a prepared pan and bake for about 50 minutes, or until a toothpick comes out clean. Tip: Avoid opening the oven during the first 30 minutes to prevent the cake from collapsing.
Cool the Cake:
Cool the cake upside down on an elevated surface to prevent it from sinking. Let the cake cool completely before slicing it into three layers. Ideally, let the cake rest for 5–6 hours before assembling to ensure stability.
Cream Filling:
Prepare the Custard Base:
In a saucepan, whisk together egg yolks, water, and sweetened condensed milk. Cook over low heat, stirring constantly to prevent burning, until the mixture thickens (do not let it boil). Remove from heat, add the chocolate, and stir until melted.
Beat the Butter:
Let the custard cool to room temperature. In a separate bowl, beat the softened butter until fluffy, then gradually add the cooled custard base, mixing until smooth. Add cognac if desired.
Assemble the Cake:
Layer the Cake:
Spread about half the cream between the two layers of the cake, leaving the top layer without cream. Use the remaining cream to cover the sides of the cake.
Apply a Jam Layer:
For an even glaze, apply a thin layer of warmed jam (preferably apricot or apple) on the top of the cake. Heat the jam slightly to make it easier to spread, and then let it set in the refrigerator for 15–20 minutes.
Glaze:
Prepare the Glaze:
Mix cocoa, sugar, and water in a saucepan, and heat until the mixture thickens (about 1–2 minutes after boiling). Stir in the butter. Pour the hot glaze over the cake, covering the top and sides. If the glaze is too thick, add a little hot water to achieve the desired consistency.
Set the Glaze:
Chill the cake for at least 30 minutes to set the glaze. The glaze will remain shiny and soft, rather than hardening completely.
Helpful Tips:
Use a degreasing agent to clean your mixing tools before whipping egg whites to ensure no fat residue prevents proper whipping.
To avoid a runny glaze, cook the mixture just until it thickens slightly, and always apply it while it’s still warm.





What size baking pan do you use for this cake