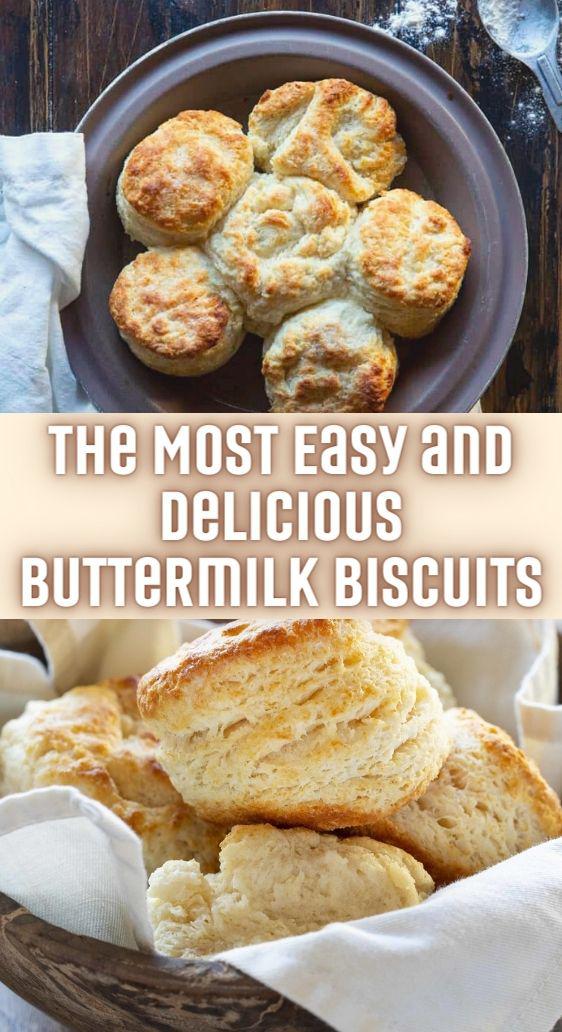
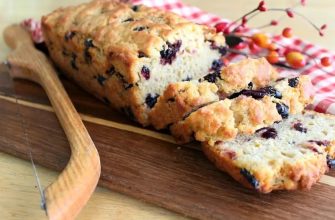
These Buttermilk Biscuits are a staple in many homes and for good reason! They are fast, they are delicious, and they are practically no-fail! If you love biscuits you may also like my Butter Swim Biscuits! (If you have ever wondered how to make buttermilk at home, I’ve got you covered!)
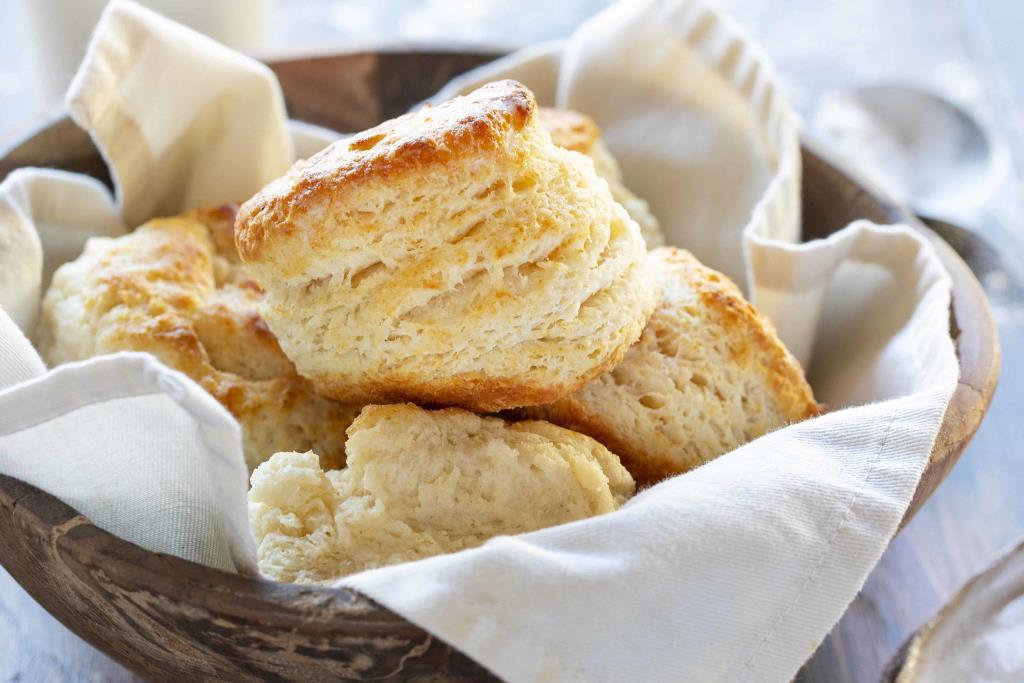
Buttermilk Biscuits
Like most of you, I have been making a version of buttermilk biscuits for as long as I’ve been tall enough to be in the kitchen. I love how fast and easy this recipe is and love seeing the delight on my kid’s faces when they know it’s biscuit night!
I took a recipe a found in my MIL’s church cookbook and tweaked it just slightly. I changed how the butter is incorporated (more on that below), changed how much butter was used, and changed the serving size. I dislike flat, small biscuits and wanted to make sure mile were mile-high!
To make these biscuits you only need a few simple ingredients:
- salted butter (if you do not have salted butter, add 1 teaspoon of kosher salt to the recipe)
- flour
- baking soda
- baking powder
- sugar
- buttermilk (click for homemade buttermilk)
The original recipe calls for 8 biscuits, but I changed it to six. Here’s how I do it:
- prepare dough
- place on the counter and work the dough into a rectangle or square, working in the extra flour and loose bits
- pat flat with your hand
- fold over once, press to flatten
- fold over again, press to flatten
- fold over one last time, and press to 1 1/2 inches thick
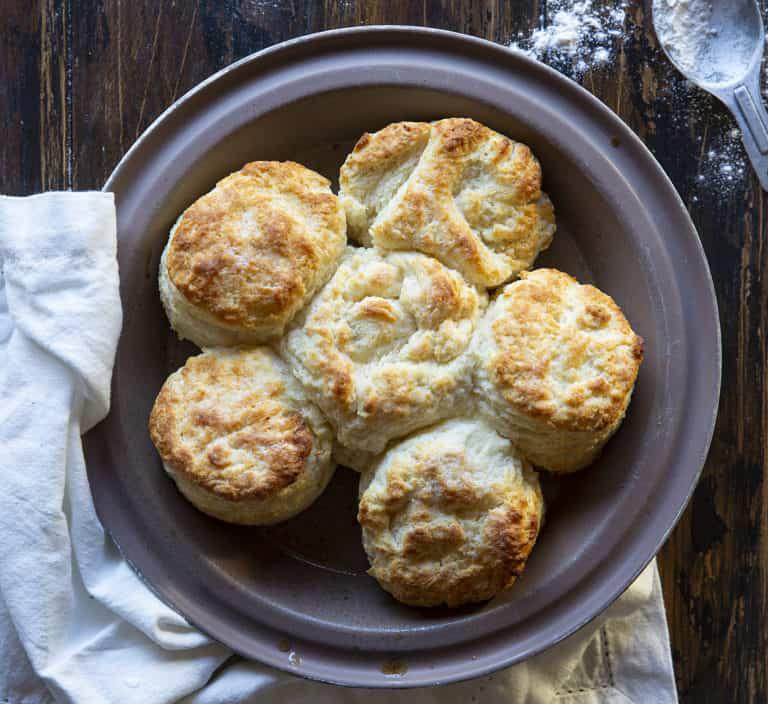
Using my cookie cutter, I press out 4 biscuits. Then gently press the dough back together, press down to 1 1/2 inch thick again, and cut out ONE biscuit. (At that thickness there should not be enough to press out two.) I then pick up the remaining dough and form it into a circle and pop it into the center of my pan. That middle biscuit is always wonky looking, but the kids always fight over who gets it!
The Secret to Perfect Buttermilk Biscuits
I was taught this trick by a friend who owns the most adorable diner in rural Minnesota. She grates her butter! She takes a big block (like 5 pounds) and grates it into individual portions then places each portion in the freezer until she is ready to bake. I loved this trick and have been using it for a year now, and I have to tell you, it works perfectly. Every. Single. Time. It truly makes this buttermilk biscuit recipe NO-FAIL!
Use the fine side of the grater and grate over a plate. Then pop in the freezer. Grated butter only needs a few minutes in the freezer to firm up, so it really makes prep time much easier. No fancy tools needed for this recipe!
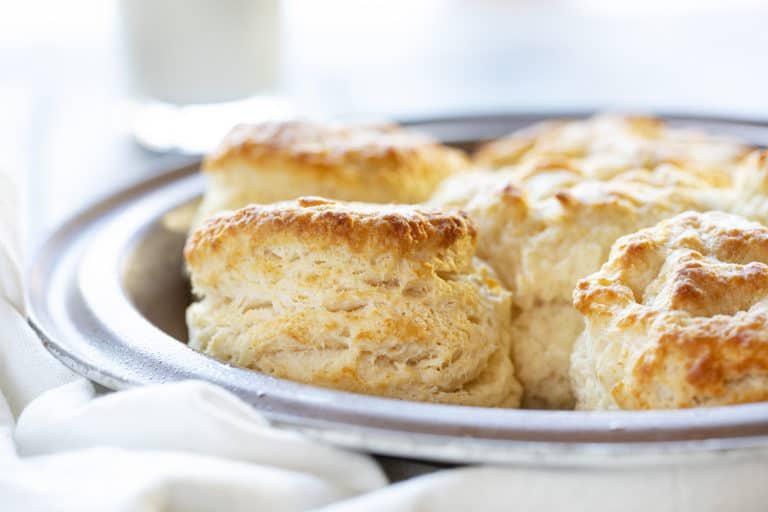
How to Get Mile-High Biscuits
The trick is in how thick you roll your dough. Most recipes call for 1-inch high and while that is fine, it’s not as tall and flakey as I would prefer! I typically roll my dough about 1 1/2 inches high (if not taller) and then bake 6 biscuits at a time. Because I want the biscuits to be done all the way through, this means the tops will be golden brown instead of white. We much prefer this method and the crunch of a golden top, but if you want white biscuits, feel free to roll your dough to a max of 1-inch high.
Another factor is oven temperature. I bake my buttermilk biscuits at 450°F. My oven is calibrated and I know this is an accurate temperature reading. If you are not sure about your oven or have hot spots, you may want to invest in an oven thermometer, rotate the biscuits half-way through baking, or keep a close eye on your biscuits. If they are starting to get too brown (check at 13 minutes) but are not done baking all the way through, you can cover them with a loose foil tent to avoid burning.
What cookware is best for buttermilk biscuits?
My grandma’s old pie tin makes the most glorious biscuits. (not glass or a dark metal) It is thin material and I like how evenly everything bakes. If I bake in my Staub pie pan which is a thick ceramic (I think!) I usually need to add 2 minutes to my total baking time. Some folks prefer to use a cookie sheet lined with parchment for their biscuits. If I triple this buttermilk biscuits recipe I will use a cookie sheet!
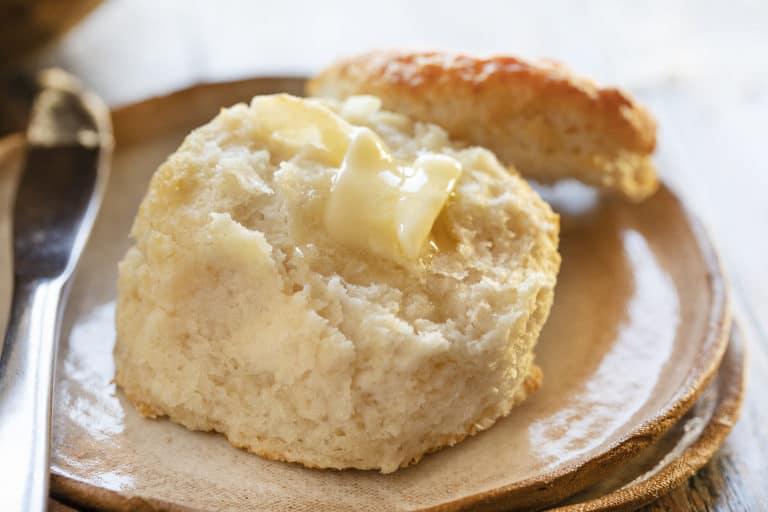
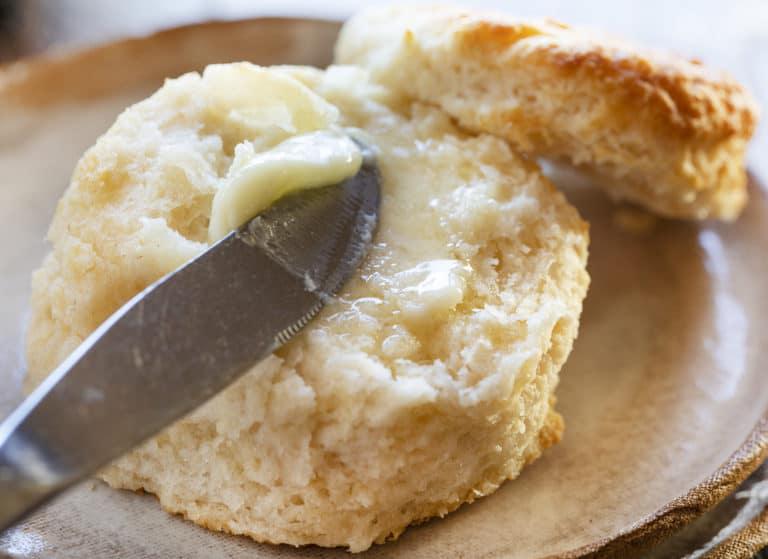
What to Serve with Biscuits
Butter! I love them with salted butter, but my husband can’t eat a biscuit unless it is smothered in jam.
With just a little bit of added sugar to this recipe, I used the biscuits in my Strawberry Shortcake Recipe.
How to Store Buttermilk Biscuits
Biscuits are best eaten fresh, usually on the same day of baking. If you want to make them a day ahead of time:
- bake biscuits
- allow to cool to room temperature
- wrap tightly with foil (only use plastic wrap if the biscuits are completely cooled, trapping in hot air could make the biscuits soggy)
- place in refrigerator until ready to use. (You can also leave at room temperature if you prefer)
- warm in the oven at the lowest temperature for up to 10 minutes
How to Freeze Buttermilk Biscuits
Wrap cooled biscuits tightly with foil or plastic wrap and then in a freezer-safe storage bag. If they are wrapped tight and air can’t get to them, they should remain fresh for a couple of months.
INGREDIENTS
- 1/2 cup (1 stick or 113g) salted butter, grated and cold
- 2 cups all-purpose flour
- 1 tablespoon granulated sugar
- 1/4 teaspoon baking soda
- 1 tablespoon baking powder
- 1 cup buttermilk
INSTRUCTIONS
- Preheat oven to 450°F. Prepare a pie dish or 8×8 pan. (I use GOOP)
- Grate butter using the fine edge of your grater. Grate onto parchment paper and then place in the freezer while you prepare the remaining ingredients.
- Add flour, sugar, baking soda, and baking powder to a large bowl. Use a whisk to sift ingredients.
- Get grated butter out of the freezer and, using a fork, incorporate into dry ingredients.
- Add in the buttermilk and stir until mostly combined, being careful not to overwork the batter.
- Pour contents out onto a solid surface and use your hands to push the dough together, gathering up and dry bits and pressing them into the dough. Move the dough around and add some flour underneath should your counter get sticky.
- Press the dough into a flat square, about 1 1/2 inches thick. Fold over once, press down. Fold over again, press down. Fold over for a third time and press the dough to 1 1/2 inches thick. (You could also make the thickness 1-inch if you want 8 biscuits.)
- Using a biscuit cutter, round cookie cutter, or tall kitchen glass, press into the biscuit and place each biscuit into the prepared tin pie dish (touching). I am able to get 4 biscuits, then press the remaining dough together and get 2 more.
- Bake for 12-16 minutes, or until the tops are golden brown and there are no “wet” spots between the biscuits.
- Remove from oven and brush with melted butter. Serve immediately. (If you are serving later, you can brush with more melted butter)